

This young girl was getting a perm for the first time. She wanted a natural – looking perm without cutting her hair too short. Her hair had been bleached and dyed many times. So, how can we create curls similar to those made with a curling iron on such damaged hair? Hair that has been frequently bleached and dyed has weak elasticity and toughness. Additionally, since this girl’s hair is very fine and soft, when softening her hair, the first thing to consider is to maintain its stiffness. Therefore, I chose the hardening – type softening technique. Here’s what I did:
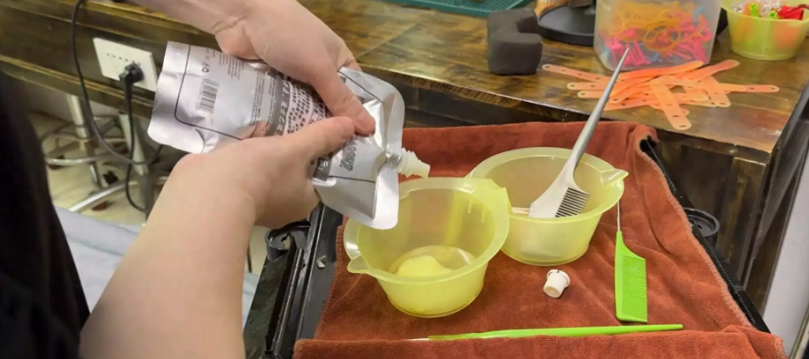
- Step 1: First, apply a weak – acidic perm lotion as a base. Take advantage of the high – permeability of the weak – acidic solution to absorb the lotion into the hair.
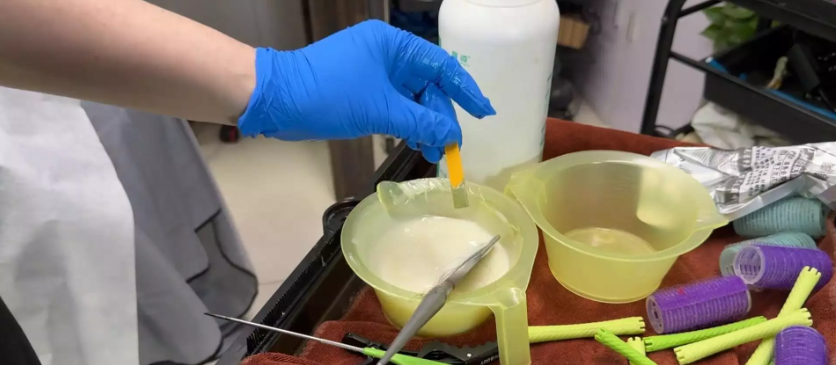
- Step 2: Then, adjust the pH value to 8 by mixing a normal perm solution and the weak – acidic solution. This can ensure that the hair doesn’t expand excessively or become too soft during the softening process, while also reducing the burden on the hair cuticles.
- Step 3: After a 40 – minute slow softening treatment, the hair reaches the softening standard. Because her hair is already severely damaged, even though the alkaline content of the adjusted solution is reduced during softening, some will still remain in the hair. So, it’s necessary to perform the in – perm hardening treatment two to three times with water – soluble protein to restore the hair’s stiffness. Only when this standard is met can the hair be permed to have elasticity.
- Step 4: When curling the hair, I used a No. 28 large curling rod. For the shorter parts at the top, I used the full – overlap curling method according to the cutting angle. For the longer parts below, I used the half – overlap curling method. This way, the permed hair will be voluminous and natural without being overly curly.
- Step 5: Heating is also crucial. Heat the hair for 15 minutes with cotton wrapped around it until it’s 80% dry. After removing the cotton, heat the dry hair for 10 minutes to ensure it’s completely dry.
- Step 6: Styling is very simple. After drying, directly immerse the hair in the styling solution and let it sit naturally for 10 minutes, then you can wash the hair.
This is the final perm result. The curls are natural, not frizzy, and basically achieve the effect of using a curling iron. The girl was very satisfied.
I’m sharing this simple and practical perming technique with friends who need it. The complete perming process of this hairstyle is in the 98th lesson of the nanny – level hot – perm course under the video. Friends who want to learn can purchase the course and watch it on their mobile phones unlimited times. I’ll provide long – term after – class guidance to ensure you learn practical and applicable hot – perm techniques.
